
Dropping a payload from a fixed-wing drone sounds like it should need custom hardware and custom firmware. It needs neither. With an electropermanent magnet mounted under the airframe, a PX4 flight controller, and one passthrough channel on your transmitter, you can release a payload in mid-air with the flick of a switch.
This is Part 1 of a series on building a fixed-wing delivery drone with PX4. It covers the initial bench setup of the Zubax FluxGrip: reading its PWM command chart, wiring it to the flight controller, configuring the output in QGroundControl, and testing the release from both the ground station and the transmitter. As usual, you can follow along with the written tutorial below or the video.
What the FluxGrip Is
The Zubax FluxGrip is an electropermanent magnet (EPM). It combines the behavior of an electromagnet and a permanent magnet: a pulse of current flips it between the on-state and the off-state, and it holds either state while consuming zero power. That makes it a natural payload gripper for a delivery drone, where battery budget matters.
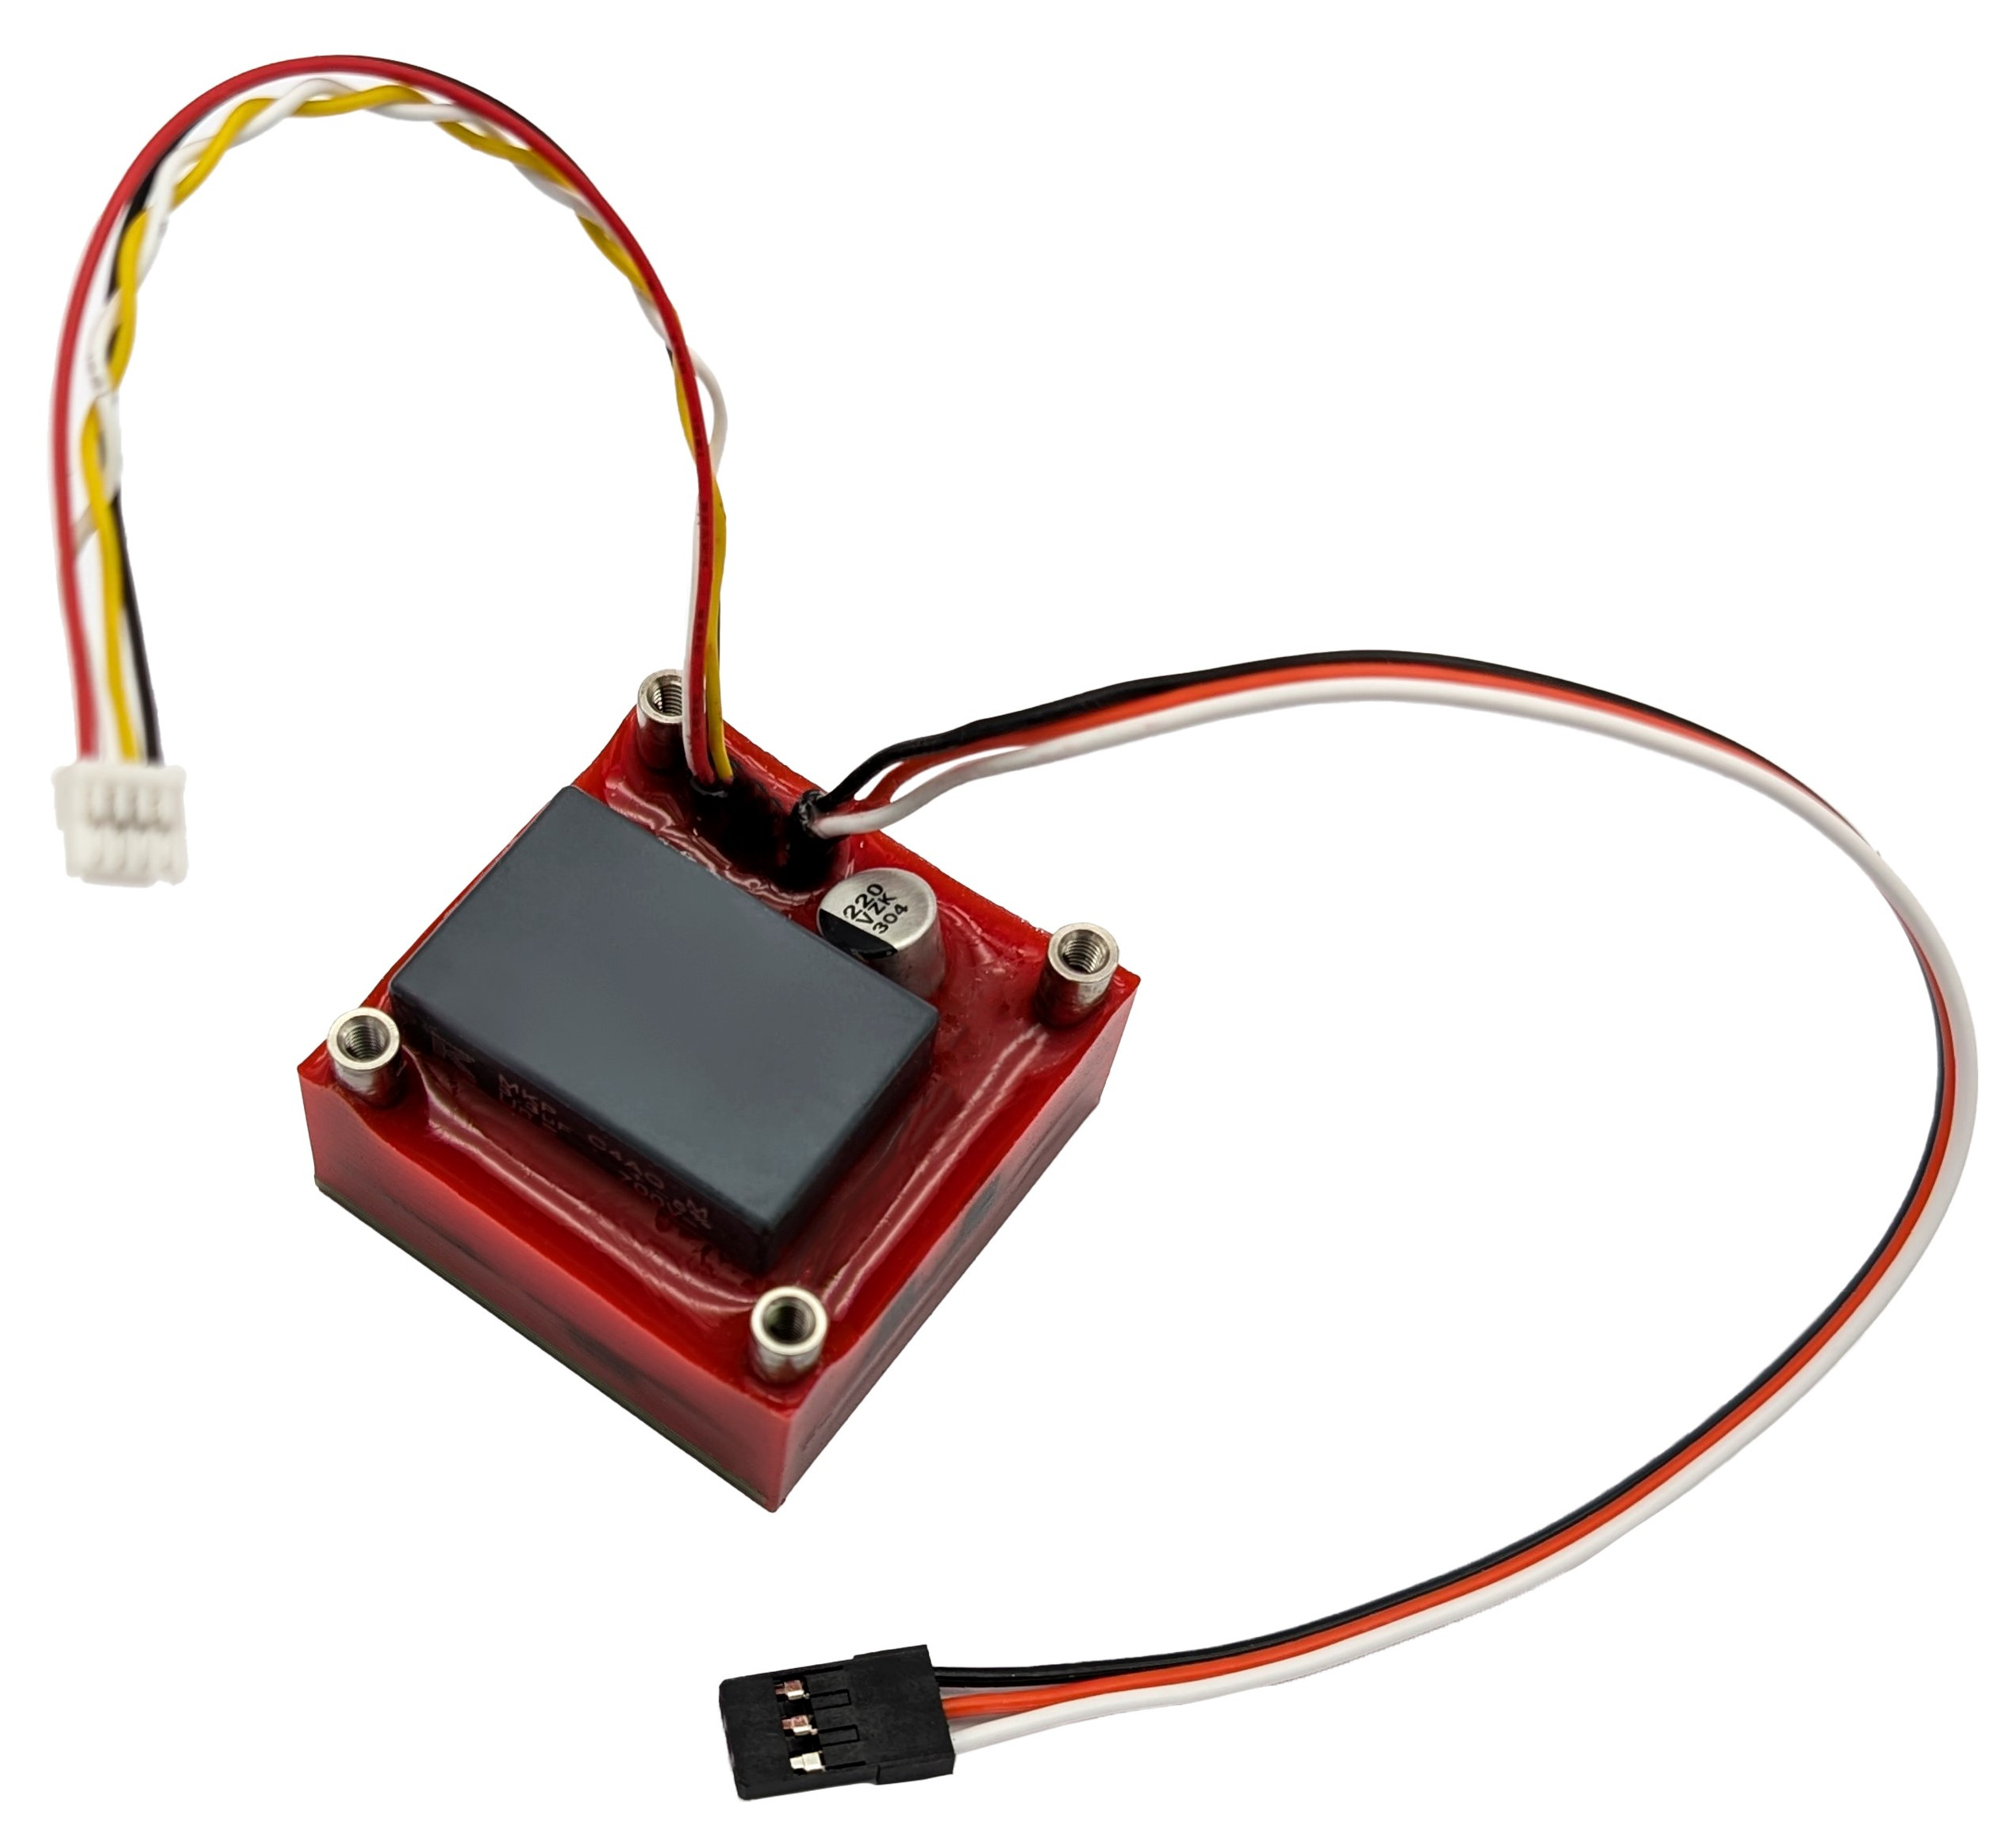
Source: FluxGrip Reference Manual
The plan for this build is simple. The FluxGrip mounts to the bottom of a fixed-wing airframe with the payload held underneath. During flight, you toggle a switch on the transmitter and the magnet releases the payload.
Zubax publishes a reference manual with a functional description of the command logic. The FluxGrip supports Cyphal, but the simplest integration is the analog interface. This makes it easy since the device can plug into a PWM header on your flight controller just like any other servo.
Reading the PWM Command Chart
The analog interface samples an RC PWM signal and maps pulse widths to commands.
| Pulse width | Command | Effect |
|---|---|---|
| 800 to 1200 µs | OFF | Demagnetize (release) |
| 1600 to 1900 µs | ON | Magnetize (grip) |
| 2100 to 2500 µs | FORCE | Re-run the magnetization cycle |
The chart in the manual also covers holding-force behavior, but for a drop mechanism you do not care about the force. You only need off and on. Basically what we’re shooting for is a low pulse to release, and a high pulse to grip.
Prearm Mode: Test Without Spinning the Motor
Before wiring up a switch, you want to test the FluxGrip on the bench, and that means commanding an actuator without arming the vehicle. Open QGroundControl and set the parameter COM_PREARM_MODE to Always.

Prearm mode keeps the vehicle in a state where non-throttling actuators can move while the motor stays locked out. With it set to Always, you can toggle the FluxGrip without arming and without dealing with a throttling motor. You are bypassing the prearm safety check, so expect the control surfaces on your plane to move; the main motor should remain disabled.
Warning: Prearm mode relies on the motor lockout to keep the bench test safe. Confirm the propeller does not respond to any input before you continue, or remove it entirely.
Assigning the FluxGrip to an Output
Head to the Actuators tab in QGroundControl vehicle setup. On the airframe we are using, the PWM MAIN outputs are already partly claimed: the right and left ailerons on the first two outputs, the motor on MAIN 3, and a pan servo for an FPV camera on MAIN 4. Leave those alone.
The FluxGrip goes on MAIN 5. Set that channel’s output function to RC AUX 2, one of PX4’s RC passthrough functions. Whatever your transmitter sends on the mapped channel will be passed straight through to the pin, which is exactly what a switch-controlled magnet needs.

Then set the PWM values for the channel to match the command chart:
- Disarmed: 800
- Minimum: 1200
- Maximum: 1950
Disarmed and minimum both sit in the OFF band, so the magnet stays released at rest. The maximum lands in the ON band, so pushing the channel high magnetizes the gripper.
Just note that your servo rail needs 5 V power. The flight controller’s PWM header does not supply it on its own, and the FluxGrip needs that rail powered just like your servos do.
Bench Testing with the Sliders
With the FluxGrip connected to the PWM header, scroll to the actuator testing sliders in the same Actuators screen (to the left) and enable them. Drag the MAIN 5 slider up. Once the pulse width crosses the 1600 µs threshold, you should hear a clicking sound from the FluxGrip. It is very faint, so listen closely.
That click is the magnetization cycle. Lower the slider back down and the FluxGrip releases. You can verify the state change with a paperclip or any small piece of ferrous metal: it holds at the top of the slider, drops at the bottom.
Mapping the Transmitter Switch
Sliders prove the wiring. A delivery flight needs the release on your transmitter. This setup uses a rocker switch that the transmitter sends on channel 7.

Go to the Radio setup screen in QGroundControl. If the channel monitor is not picking up your RC input, reboot the flight controller and check again. Flip the rocker and watch which channel moves to confirm the assignment.
Then map the passthrough: set AUX 2 to RC channel 7, or to whatever channel your own switch lives on. Since MAIN 5 is assigned the RC AUX 2 function, the switch now drives the FluxGrip directly.
Flip the rocker switch. Same faint click. The magnet is now on your transmitter.
The Drop Test
Time for the full loop. Stick a small steel object to the FluxGrip. We used a hex wrench . Grip it with the switch in the on position, hold the airframe up, and flip the switch.

There it goes. That is the entire release mechanism working end to end. That includes the transmitter switch, RC channel 7, AUX 2 passthrough, MAIN 5, a 1600 µs threshold, and a payload on the floor.
Conclusion
The FluxGrip turns payload release into a servo-configuration exercise. You read one PWM chart, set COM_PREARM_MODE to Always for safe bench testing, assigned RC AUX 2 to a spare MAIN output with 800/1200/1950 PWM limits, powered the servo rail, and mapped the passthrough to a transmitter switch. No custom firmware, no special mixers, and zero power draw in either magnet state. With the release mechanism proven on the bench, the next step is mounting it under the fixed-wing and dropping a real payload in flight.
References
- FluxGrip Reference Manual: https://fluxgrip.zubax.com/
- Zubax Knowledge Base: https://wiki.zubax.com/
- PX4 Prearm, Arm, Disarm Configuration: https://docs.px4.io/main/en/advanced_config/prearm_arm_disarm.html
- PX4 Actuator Configuration and Testing: https://docs.px4.io/main/en/config/actuators.html
- PX4 Radio Setup: https://docs.px4.io/main/en/config/radio.html
- QGroundControl User Guide: https://docs.qgroundcontrol.com/